
If you’ve been with me for a while you probably remember the absolute FIASCO that was last year’s painted patio? Well… to the husband’s horror I decided to tackle it again. I went down a completely different route this time, opting for a stencil in black and white, and I am in so in love with the result.
No sooner had I finished than the rain came – only this time it did NOT wash away my hard work but it was a tense moment let me tell you.
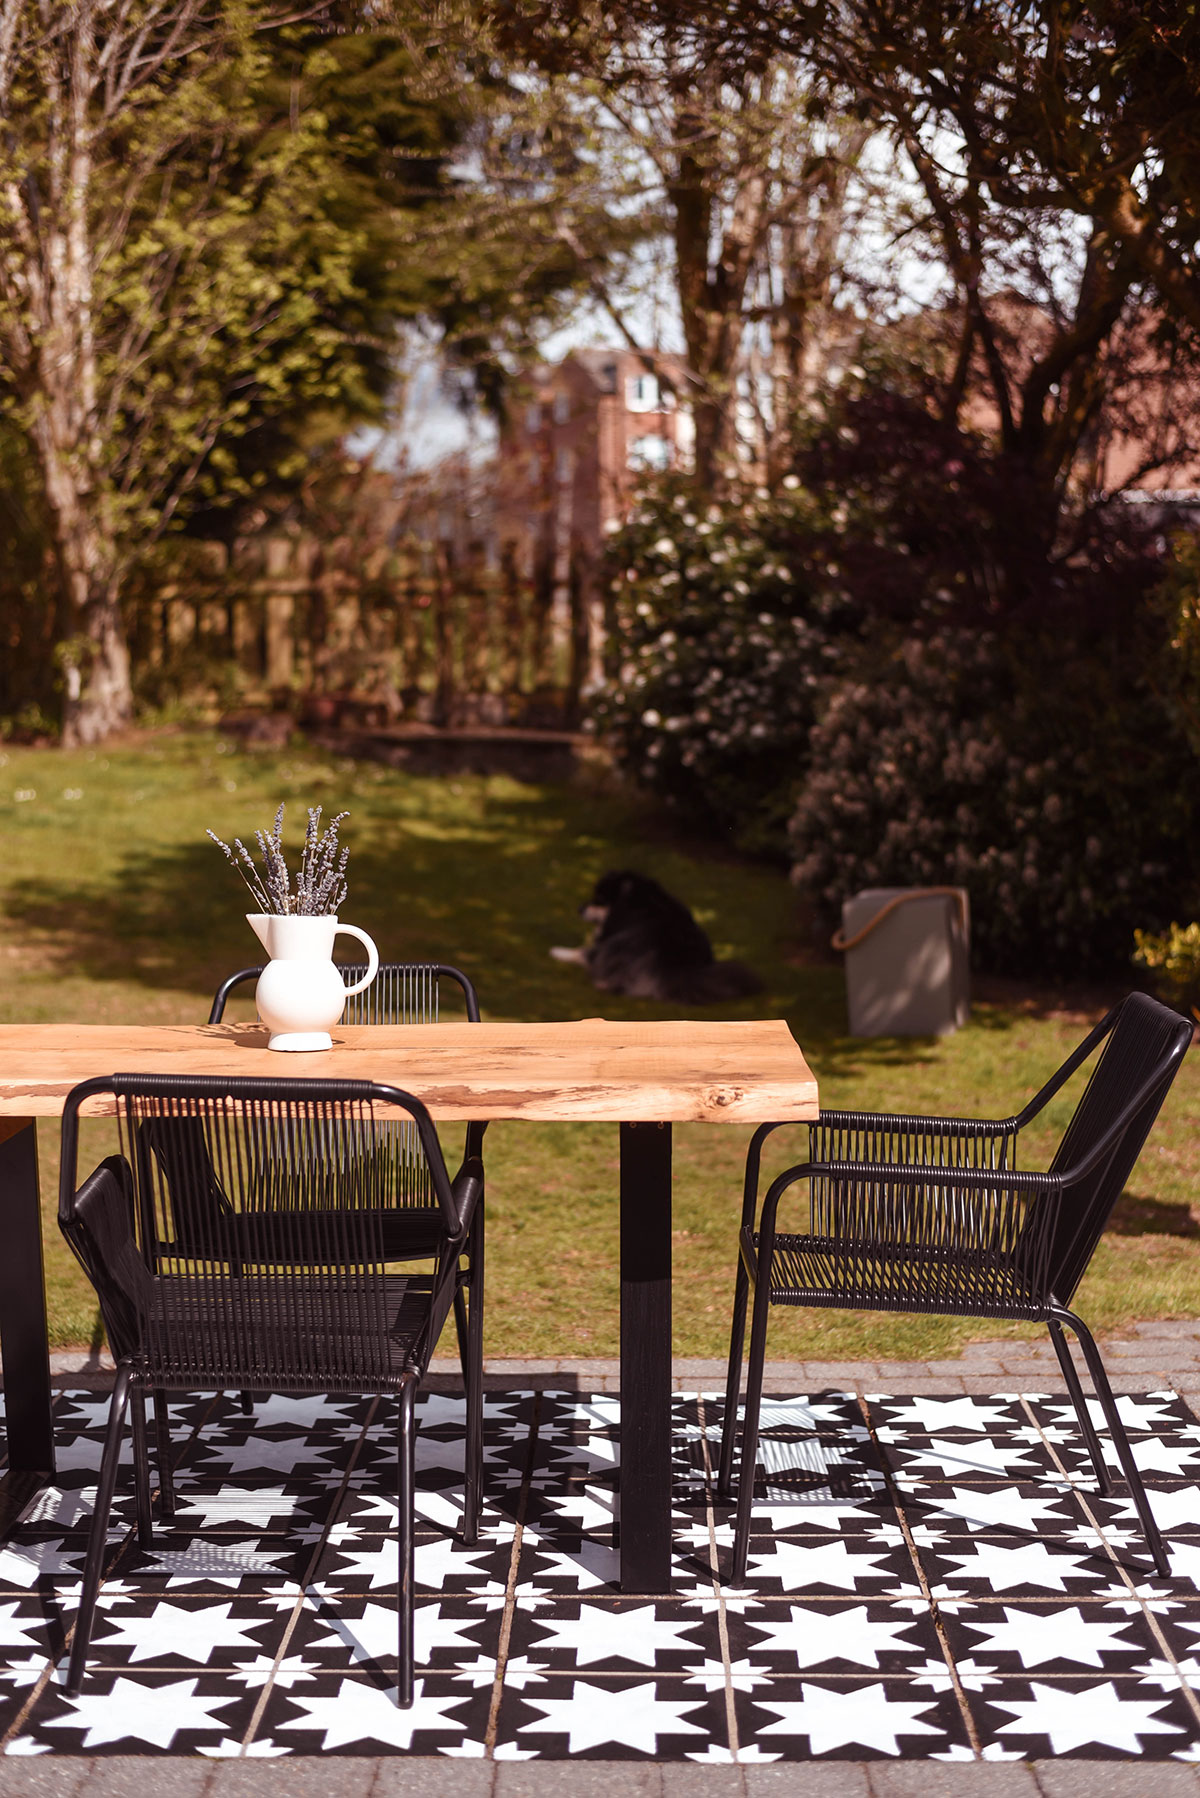
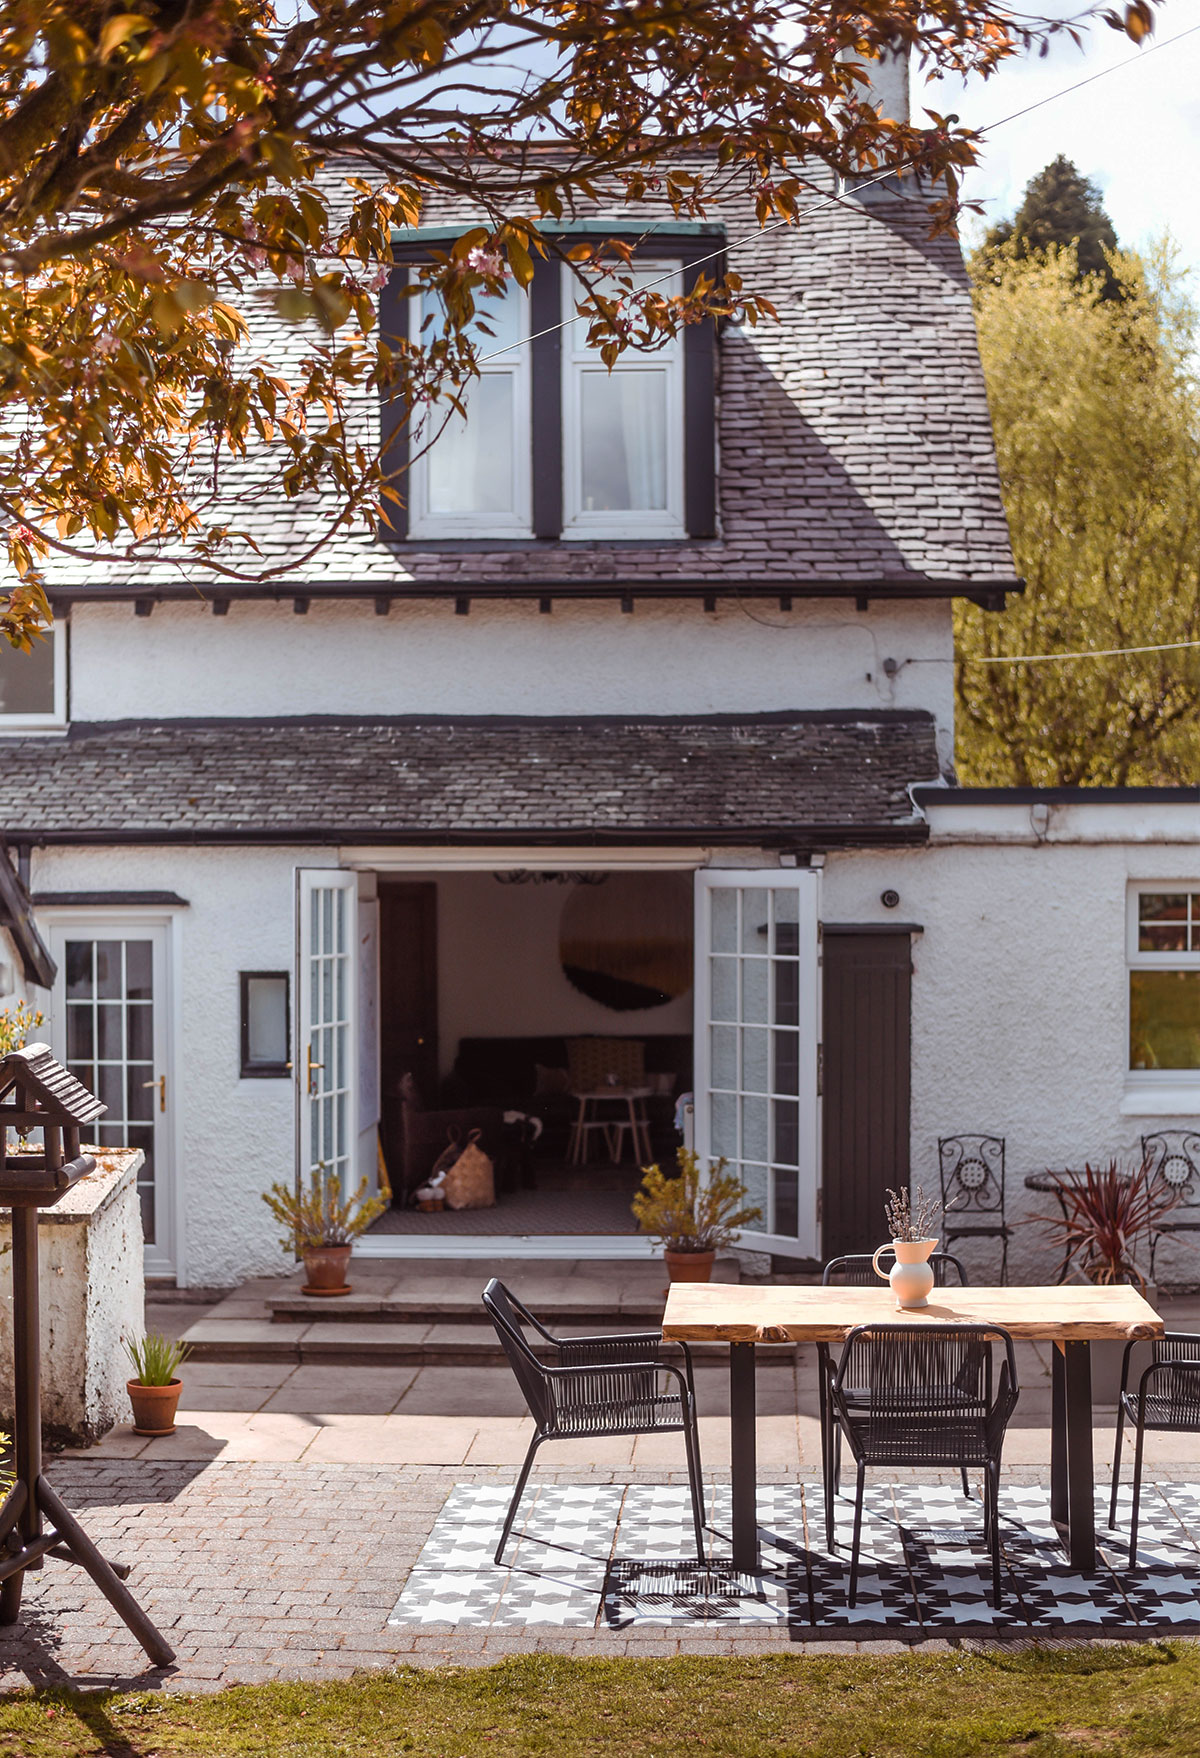
I decided to make a feature of the raised dining area this time around rather than tackle the entire patio again (I got other plans for that sunken space). It makes me smile every time I see it and although the monochrome colour-way is pretty bold I think it really fits well with the furniture and the back of our house. What do you think?
Scroll down for the materials I used and step by step instructions…
HOW TO PAINT A STENCILLED CONCRETE PATIO
Pressure washer
2 x Dizzy Duck ‘Kallat’ stencils
Sandtex smooth masonry paint in black
Sandtex smooth masonry paint in white
1 x stencil brush
1 x 3-4 inch paint brush
Frog tape
A lot of patience…
I will lay these instructions out step by step amongst the relevant images so just keep scrolling for the next step – you get the idea…
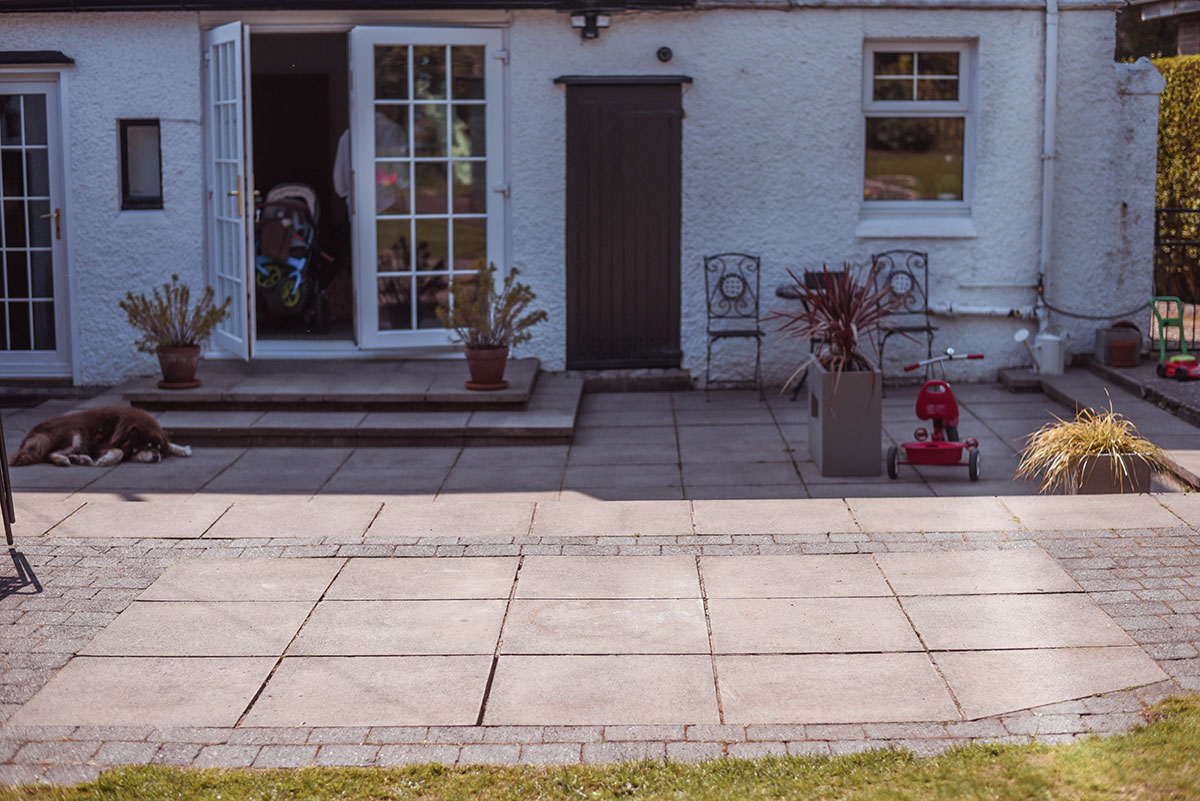
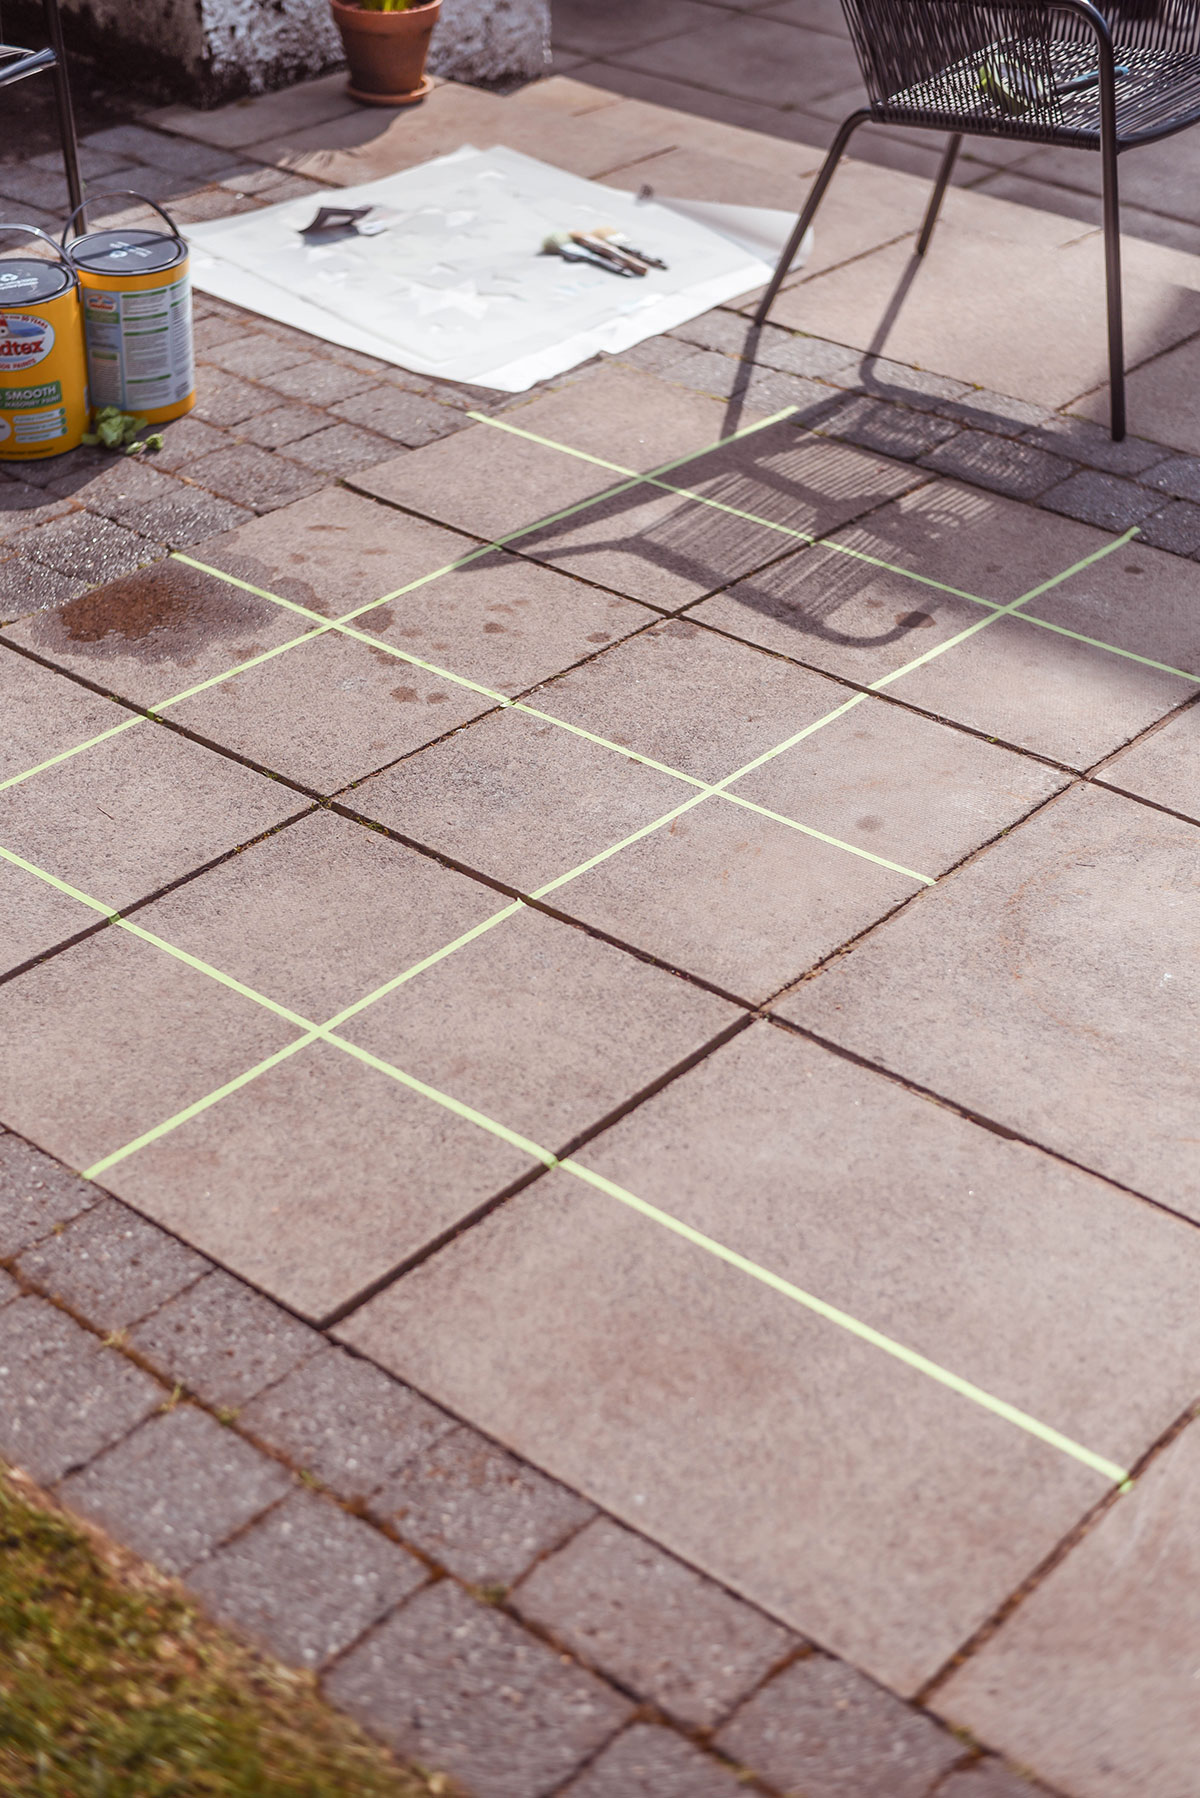
First up you want to get your concrete slabs clean. Think Cinderella on her hands and knees gleaming. Or get the husband to pressure wash them. Then let them dry. Do not be tempted to brush them or create any kind of dust. Dust is not your friend in this situation.
I chose a custom stencil, I went for Dizzy Duck’s ‘Kallat’ design, to give four ’tiles’ within each concrete slab (my slabs are 59cm sq. for reference) and just to make my life a little bit more difficult I wanted to create a faux ‘grout’ between each tile. You could absolutely order a tile stencil to fit the exact dimensions of your slab and I would probably recommend doing that – the overall effect would still be amazing even on the bigger scale. But I am never one to shy away from the tricky route so I trimmed lengths of Frog tape to the same width as my actual grout, measured the centre points of each slab edge and stuck that tape down. I will not lie to you guys, this step took TIME. And it was not fun. Each tile is laid ever so slightly off kilter from the other so there was no way to cut corners, every single mid point of every single slab edge had to be measured. But I am super glad I persevered because the final effect is pretty near perfect.
If you get a sunny day you may or may not enjoy a glass of wine during this step but try not to throw it over your slabs as I did (evidenced below).
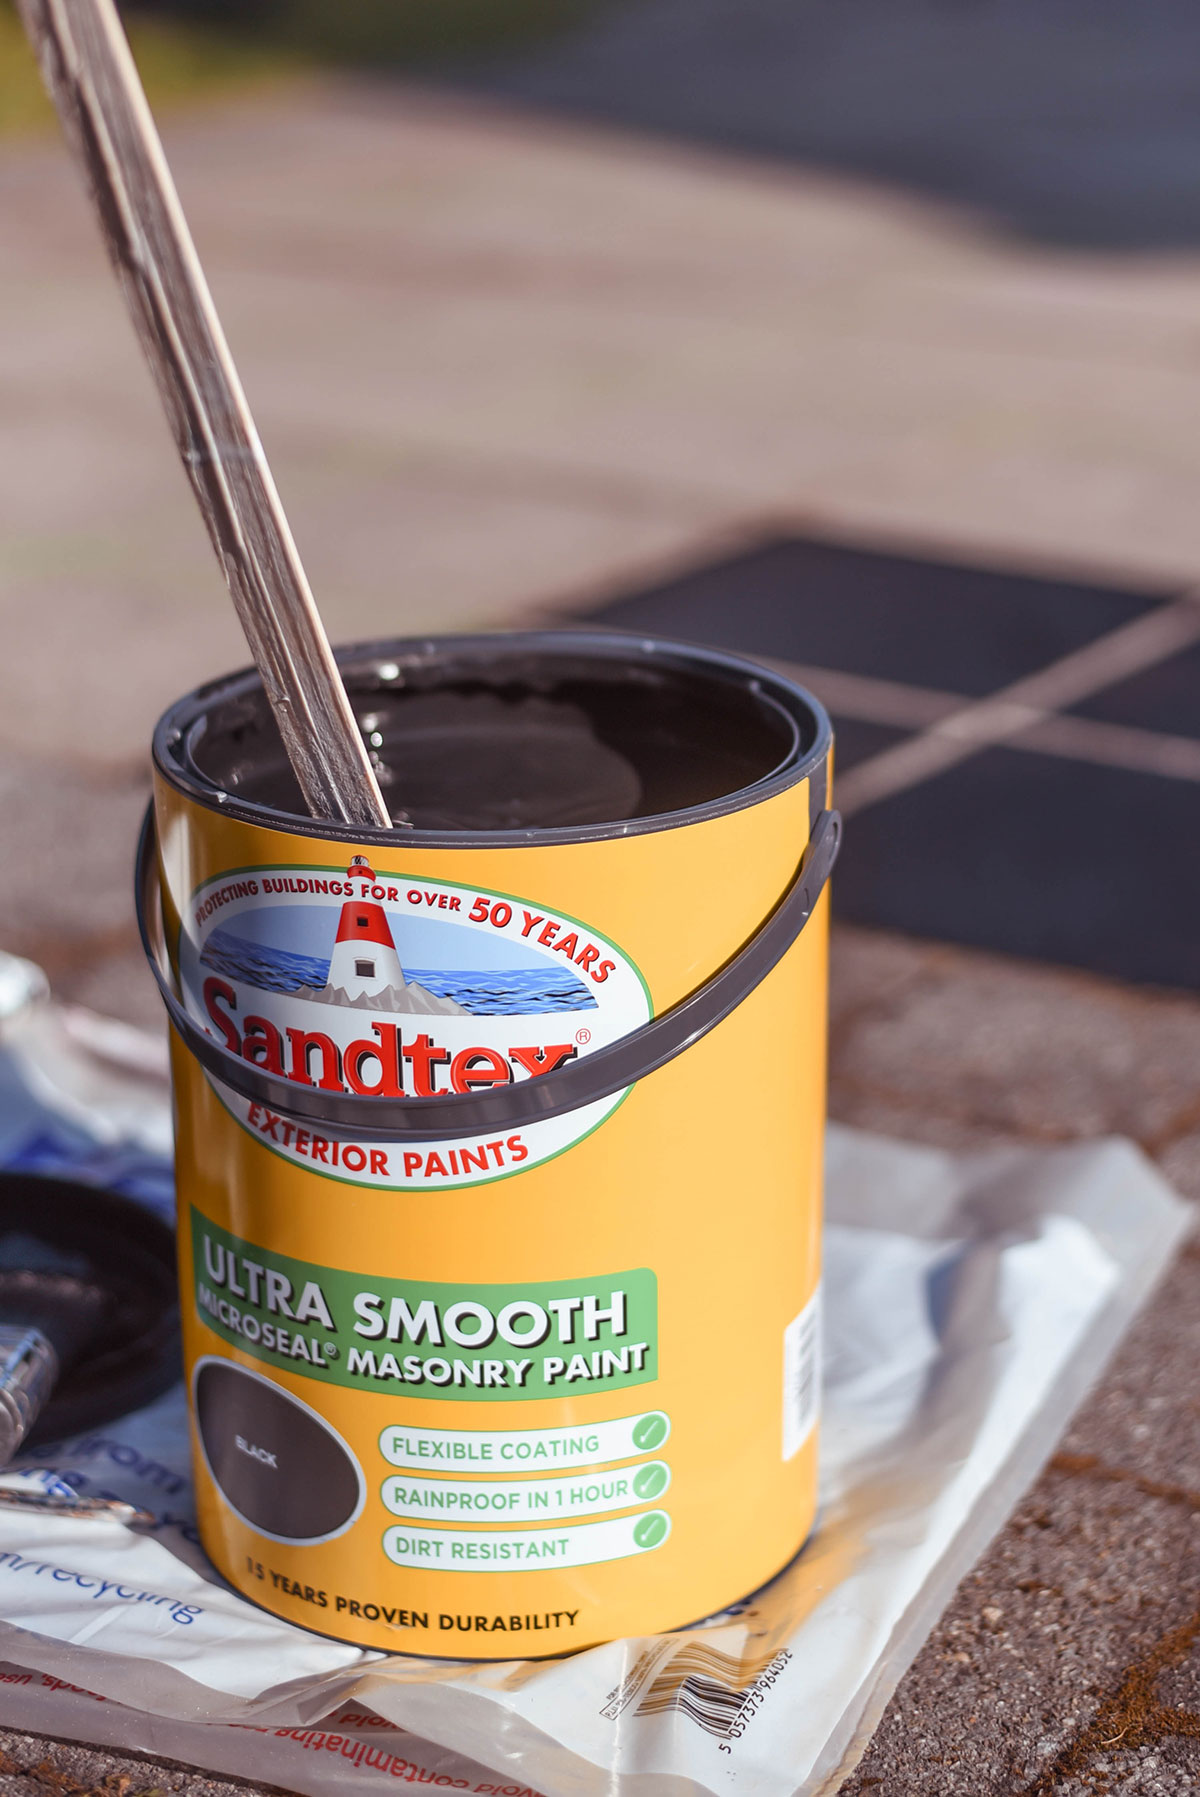

Then I got my paint on. Keep the pot on top of a newspaper or something to catch any wayward drips and work your way around that tape with a regular paint brush. I was super careful not to let any of the black paint run over onto the real grout and I kind of stippled over the tape so it didn’t smudge under (I have popped some video tips in a story highlight on Instagram). Lift the tape on each slab as early as you can so the paint does not completely dry. I found the one coat of black to be solid enough.
Next, lay your stencil in place and tape down the corners before busting out the white paint. I worked this on solely with the stencil brush. It takes time. It takes patience. But it does not take a lot of paint. I stippled the delicate corners and the star points, brushed away from the star edges and painted as normal in the centre of the star – that worked best for me.


Dizzy Duck have a two for one offer right now on stencils and I found it super helpful having the extra stencil. I hung one to ‘dry’ on the house wall and worked with the alternate one, then switched them around. I painted slabs that didn’t meet one another to give them a chance to dry and avoid smudging.
Honestly, it is not rocket science but it does take TIME. This area took me around six hours of stencilling and probably the same again for the tape and black base paint. But it is sooo worth it. What do you think?


This post may contain affiliate links and gifts
GARDEN DETAILS
kallat stencil – Dizzy Duck Designs
wooden slab dining table – Gibson Bespoke Carpentry
trapezium legs – Hairpin Leg Co.
Lene Bjerre chairs – Houseology
jug – Zara Home


Oh wooow I am so impressed, that came out great really love love this
Author
Thanks so much – now that’s it’s done and the hard work is over I can just relax and enjoy it!
It looks so good! I think you picked such a pretty design and I know this took you a long time but it looks like it was worth it, such a beautiful result! 🙂
Hope you are having a great week 🙂
Author
Thanks Mica – I really love this design too – in fact I think I definitely prefer it to last year’s attempt!
This looks SO amazing Wendy! It truly looks like beautiful (expensive!) tiles – absolutely love it!
Monica x
Author
Thanks so much Monica! Hopefully you’ll be able to enjoy an al fresco lunch with me here one day.x
Hi your work look fabulous! Could i please ask if you used anything to seal your work?
Author
Thanks so much! No I didn’t seal it with anything and it’s doing well so far after a lot of different weather to deal with…
very glad to have found this. am hoping to tackle my concrete courtyard floor (whole thing to be Mexican themed) and really want to stencil a tile pattern. Have a slightly raised dining area too (was the foundation for a traditional shed that almost filled the whole space!!!) and am thinking of edging this with actual Talavera tiles but the ground is too big a project. It’s solid concrete not pavers so not sure how it’ll work out but this has been really helpful! love the spilled wine – that would probably be me too! Well done!
Author
So glad it was helpful and your project sounds amazing! If you want the true tile effect I think just use the skinny masking tape to create the ‘grout’ – to be honest that bit is a real faff but the effect is so realistic. Good luck and please send some pics when you’ve finished.
Love this!! It looks wonderful
Author
Thank you so much!
Hi, quick question – did you put a protective transparent sealent on top of your design?
Author
no we didn’t but maybe we should have – ours was only ever temporary and it did wear – would have had to repaint it every 2/3 years I’d say without the sealant – unsure if the sealant would help it last longer?